
Ceiling seam treatment often gets overlooked during home renovations, yet it plays a significant role in the overall appearance and durability of a ceiling. Those unsightly seams can draw attention and disrupt the aesthetic flow of a room. By focusing on proper seam treatment, homeowners can achieve a polished look that enhances their living spaces.
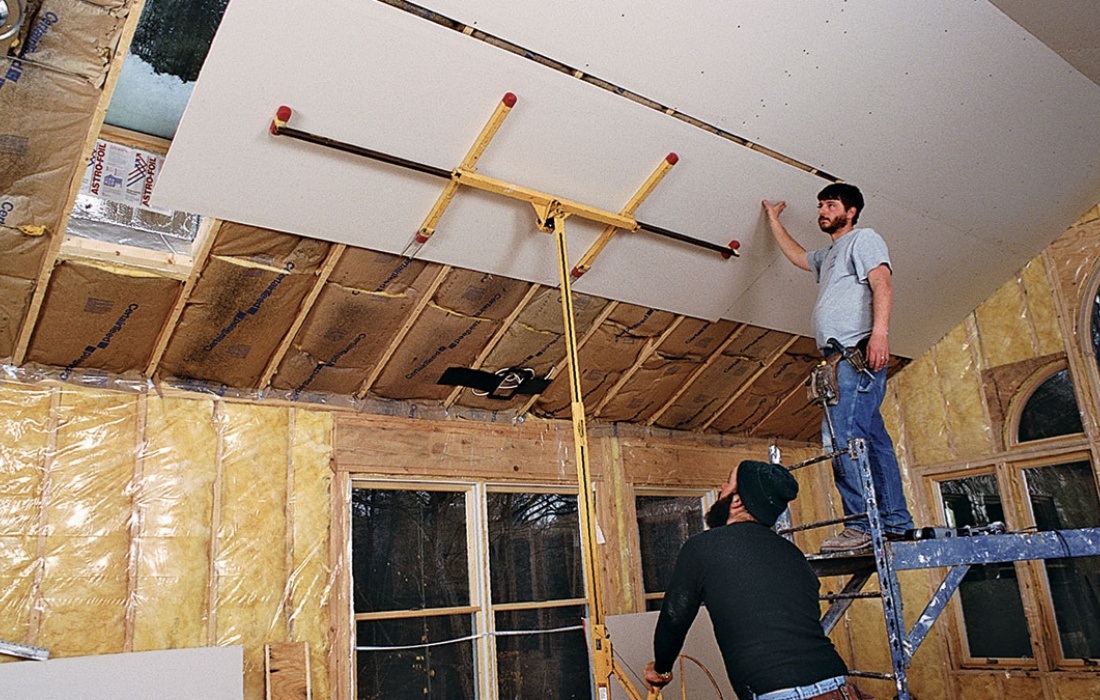
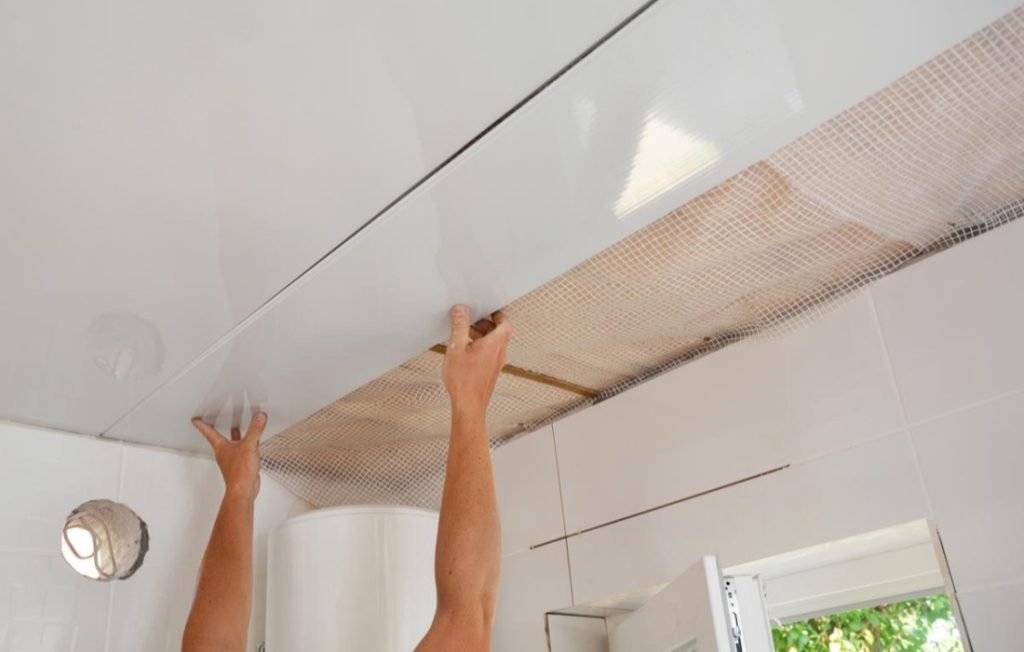
Starting with the basics, ceiling seams occur where drywall sheets meet. These seams can be a breeding ground for imperfections like cracks or uneven surfaces. Proper treatment not only smooths these areas but also prevents future problems. An effective approach involves taping the seams with drywall tape, which helps to create a seamless appearance. This step is essential for ensuring that the seams blend in with the rest of the ceiling.
When applying drywall tape, choosing the right type is important. Fiberglass mesh tape is popular due to its strength and flexibility, making it ideal for areas prone to movement. Paper tape, on the other hand, provides a smooth finish and is often preferred for flat seams. The choice between these options can depend on personal preference and the specific needs of the project.
After taping, applying joint compound is the next step. This compound fills in gaps and creates a smooth surface over the tape. Using a wide drywall knife helps achieve an even application. It’s advisable to apply multiple thin coats rather than one thick layer. This technique reduces the risk of cracking and allows for better adhesion. Each layer should be allowed to dry completely before the next one is applied, ensuring a sturdy finish.
Sanding is a critical part of the process, often seen as a chore but vital for achieving that flawless look. Once the joint compound has dried, using fine-grit sandpaper helps smooth out any imperfections. A sanding block can provide better control, especially in corners or tight spaces. This step requires patience, as rushing can lead to uneven surfaces that detract from the overall appearance.
Once the seams are treated and sanded, it’s time for priming and painting. A good primer helps seal the joint compound, preventing it from absorbing too much paint. This step enhances the durability of the finish and ensures that the color appears even across the entire ceiling. When selecting paint, a flat or matte finish often works best for ceilings, as it minimizes reflections and hides imperfections.
Proper ceiling seam treatment also contributes to the longevity of the ceiling. Well-treated seams are less likely to crack or separate over time, reducing the need for future repairs. This proactive approach not only saves time and money but also maintains the aesthetic quality of the home.
Another advantage of focusing on seam treatment is the ability to incorporate design elements. Once the seams are smooth and painted, adding decorative features like crown molding can elevate the room’s overall appeal. These design touches draw the eye upward, creating a sense of height and elegance.
Attention to detail in ceiling seam treatment can make a significant difference in how a room feels. A smooth, well-finished ceiling enhances the ambiance and can make spaces feel more inviting. Whether it’s a cozy living room or a formal dining area, properly treated seams contribute to a polished, professional look that everyone appreciates. Investing time and effort into this aspect of home improvement pays off in both aesthetics and durability.